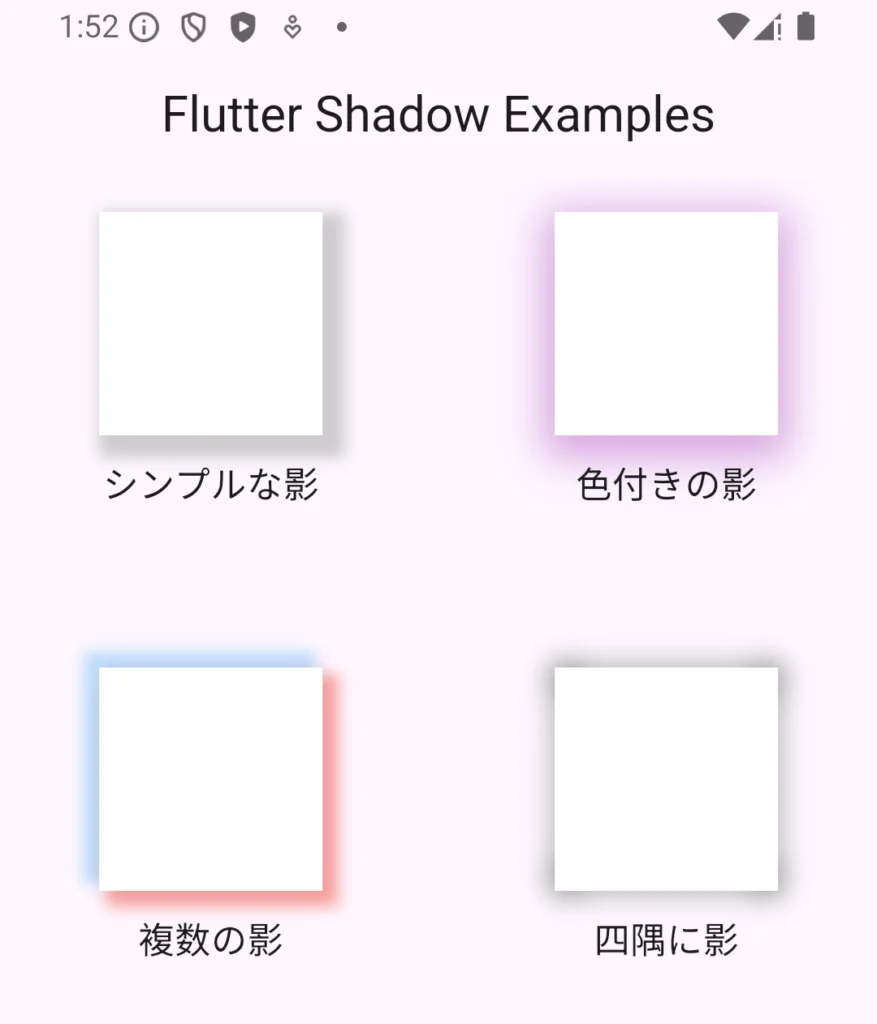
アプリデザインなどで影をつけた表現を目にする機会は多いと思います。影をつけることでメリハリをつけられたり、ボタンに立体感を持たせることができます。
今回はFlutterでContainerに影を付ける方法をご紹介します!
基本的な使い方から、ちょっと変わったものまでまとめました!
影のプロパティ
影はboxShadowというプロパティで調整できます。
後から出てくる例と合わせてご確認ください!
| spreadRadius | 影の範囲を調整。 数値大きくするほど影が広くなる |
| blurRadius | 影のぼかし具合を調整。 数値を大きくするほど影がぼける。 |
| offset | 影の中心位置を調整。 (dx, dy)で中心からの距離を記述。 (正, 正)なら右下に移動する。 |
シンプルな影
影をつけるといえばこれ!右下に黒い影を表示します。
上記のパラメータを弄って理想の影を作ってみましょう!
/// ----------- シンプルな影 -----------
Container(
  width: 100,
  height: 100,
  decoration: BoxDecoration(
    color: Colors.white,
    boxShadow: [
      BoxShadow(
        color: Colors.grey.withOpacity(0.5),
        spreadRadius: 5,
        blurRadius: 5,
// 水平方向と垂直方向のずれ
        offset: const Offset(5, 5),
      ),
    ],
  ),
);
色付きの影
影といえば黒や灰色ですが、それ以外にも色をつける事ができます。
colorプロパティを弄ってお好みの色を調整してください!
withOpacityを使用することで半透明にすることができるため、影の質感を出すためにはマストですね。
/// ----------- 色付きの影 -----------
Container(
  width: 100,
  height: 100,
  decoration: BoxDecoration(
    color: Colors.white,
    boxShadow: [
      BoxShadow(
        color: Colors.purple.withOpacity(0.4),
        blurRadius: 15,
        spreadRadius: 5,
        offset: const Offset(0, 5),
      ),
    ],
  ),
);
複数種類の影
お気づきでしょうか?boxShadowプロパティはリスト形式になっていますね!
つまり一つのContainerに複数の影をつけることができます。
色を混ぜたりぼかしを変えたり各辺で影を変えたり色々使い道がありそうです。
/// ----------- 複数の影 -----------
Container(
  width: 100,
  height: 100,
  decoration: BoxDecoration(
    color: Colors.white,
    boxShadow: [
      BoxShadow(
        color: Colors.red.withOpacity(0.5),
        spreadRadius: 2,
        blurRadius: 5,
        offset: const Offset(5, 5),
      ),
      BoxShadow(
        color: Colors.blue.withOpacity(0.3),
        spreadRadius: 2,
        blurRadius: 5,
        offset: const Offset(-5, -5),
      ),
    ],
  ),
);
四隅に影
最後にちょっと変わり種です。StackとPositionedを組み合わせて任意の位置に影を配置することもできます。
Stackの配置は少し癖があって慣れるまで難しいですが、使いこなせば思い通りにウィジェットを配置することができるでしょう!
/// ----------- 四隅に影 -----------
Stack(
  children: [
    Positioned(
      top: 0,
      left: 0,
      right: 0,
      child: Container(
        height: 10,
        decoration: BoxDecoration(
          boxShadow: [
            BoxShadow(
              color: Colors.black.withOpacity(0.3),
              blurRadius: 10,
              spreadRadius: 1,
            ),
          ],
        ),
      ),
    ),
    Positioned(
      bottom: 0,
      left: 0,
      right: 0,
      child: Container(
        height: 10,
        decoration: BoxDecoration(
          boxShadow: [
            BoxShadow(
              color: Colors.black.withOpacity(0.3),
              blurRadius: 10,
              spreadRadius: 1,
            ),
          ],
        ),
      ),
    ),
    Positioned(
      left: 0,
      top: 0,
      bottom: 0,
      child: Container(
        width: 10,
        decoration: BoxDecoration(
          boxShadow: [
            BoxShadow(
              color: Colors.black.withOpacity(0.3),
              blurRadius: 10,
              spreadRadius: 1,
            ),
          ],
        ),
      ),
    ),
    Positioned(
      right: 0,
      top: 0,
      bottom: 0,
      child: Container(
        width: 10,
        decoration: BoxDecoration(
          boxShadow: [
            BoxShadow(
              color: Colors.black.withOpacity(0.3),
              blurRadius: 10,
              spreadRadius: 1,
            ),
          ],
        ),
      ),
    ),
    Container(
      width: 100,
      height: 100,
      color: Colors.white,
    ),
  ],
);
全体コード
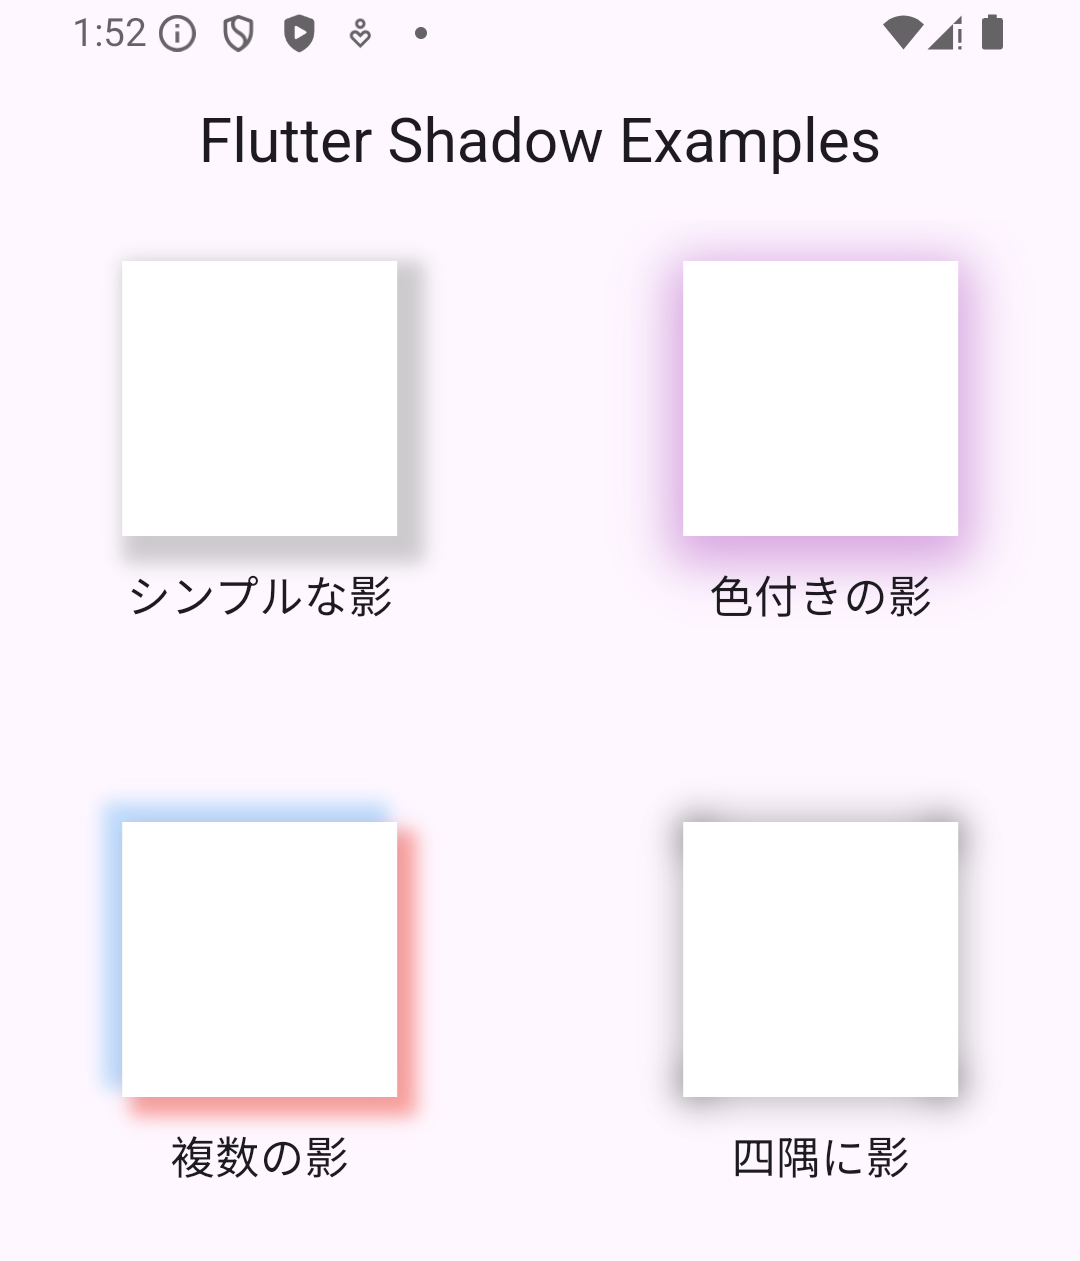
最後にこれまで紹介した影をすべて並べたデモを紹介します。
コードがかなり長くなっていますが、貼り付けるだけでコンパイルしてテストできる完全コードです!
import 'package:flutter/material.dart';

void main() {
  runApp(const ShadowSample());
}

class ShadowSample extends StatelessWidget {
  const ShadowSample({Key? super.key});
  @override
  Widget build(BuildContext context) {
    return MaterialApp(
      title: 'Flutter Shadow Examples',
      theme: ThemeData(
        primarySwatch: Colors.blue,
      ),
      home: const ShadowExamplesPage(),
    );
  }
}

class ShadowExamplesPage extends StatelessWidget {
  const ShadowExamplesPage({Key? super.key});
  Widget createSample(Widget sample, String text) {
    return Column(
      children: [
        sample,
        const SizedBox(height: 10),
        Text(text, style: TextStyle(fontSize: 16)),
      ],
    );
  }

  @override
  Widget build(BuildContext context) {
    return Scaffold(
      appBar: AppBar(
        title: const Center(child: Text('Flutter Shadow Examples')),
      ),
      body: Container(
        alignment: Alignment.topCenter,
        margin: const EdgeInsets.only(top: 15),
        child: GridView.count(
          crossAxisCount: 2,
          crossAxisSpacing: 15,
          mainAxisSpacing: 15,
          children: [
            createSample(simpleShadow(), "シンプルな影"),
            createSample(coloredShadow(), "色付きの影"),
            createSample(multipleShadow(), "複数の影"),
            createSample(customeEdgeShadows(), "四隅に影"),
          ],
        ),
      ),
    );
  }
}

/// ----------- シンプルな影 -----------
Widget simpleShadow() {
  return Container(
    width: 100,
    height: 100,
    decoration: BoxDecoration(
      color: Colors.white,
      boxShadow: [
        BoxShadow(
          color: Colors.grey.withOpacity(0.5),
          spreadRadius: 5,
          blurRadius: 5,
          offset: const Offset(5, 5), // 水平方向と垂直方向のずれ
        ),
      ],
    ),
  );
}

/// ----------- 色付きの影 -----------
Widget coloredShadow() {
  return Container(
    width: 100,
    height: 100,
    decoration: BoxDecoration(
      color: Colors.white,
      boxShadow: [
        BoxShadow(
          color: Colors.purple.withOpacity(0.4),
          blurRadius: 15,
          spreadRadius: 5,
          offset: const Offset(0, 5),
        ),
      ],
    ),
  );
}

/// ----------- 複数の影 -----------
Widget multipleShadow() {
  return Container(
    width: 100,
    height: 100,
    decoration: BoxDecoration(
      color: Colors.white,
      boxShadow: [
        BoxShadow(
          color: Colors.red.withOpacity(0.5),
          spreadRadius: 2,
          blurRadius: 5,
          offset: const Offset(5, 5),
        ),
        BoxShadow(
          color: Colors.blue.withOpacity(0.3),
          spreadRadius: 2,
          blurRadius: 5,
          offset: const Offset(-5, -5),
        ),
      ],
    ),
  );
}

/// ----------- 四隅に影 -----------
Widget customeEdgeShadows() {
  return Stack(
    children: [
      Positioned(
        top: 0,
        left: 0,
        right: 0,
        child: Container(
          height: 10,
          decoration: BoxDecoration(
            boxShadow: [
              BoxShadow(
                color: Colors.black.withOpacity(0.3),
                blurRadius: 10,
                spreadRadius: 1,
              ),
            ],
          ),
        ),
      ),
      Positioned(
        bottom: 0,
        left: 0,
        right: 0,
        child: Container(
          height: 10,
          decoration: BoxDecoration(
            boxShadow: [
              BoxShadow(
                color: Colors.black.withOpacity(0.3),
                blurRadius: 10,
                spreadRadius: 1,
              ),
            ],
          ),
        ),
      ),
      Positioned(
        left: 0,
        top: 0,
        bottom: 0,
        child: Container(
          width: 10,
          decoration: BoxDecoration(
            boxShadow: [
              BoxShadow(
                color: Colors.black.withOpacity(0.3),
                blurRadius: 10,
                spreadRadius: 1,
              ),
            ],
          ),
        ),
      ),
      Positioned(
        right: 0,
        top: 0,
        bottom: 0,
        child: Container(
          width: 10,
          decoration: BoxDecoration(
            boxShadow: [
              BoxShadow(
                color: Colors.black.withOpacity(0.3),
                blurRadius: 10,
                spreadRadius: 1,
              ),
            ],
          ),
        ),
      ),
      Container(
        width: 100,
        height: 100,
        color: Colors.white,
      ),
    ],
  );
}
この記事が役に立ちましたらぜひ左下のGoodボタンをお願いします!
皆様のGoodが執筆の励みになります。


コメント