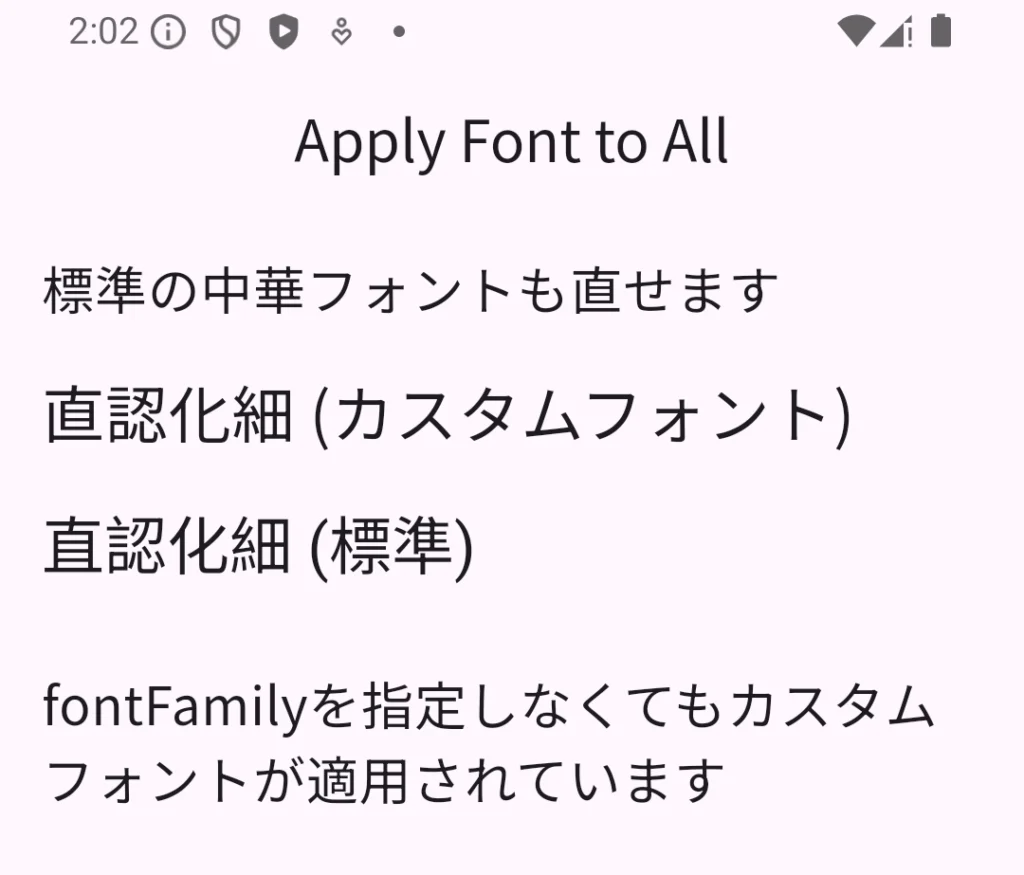
タイトルの通り、GoogleFontsなどで取得したフォントをアプリ全体に適用する方法です!
Flutterの標準フォントでは「直認化細」などの一部の漢字が中国語表記になってしまいます。
でもTextウィジェットを配置するたびにtestStyleを指定するのはめんどくさい…
そんなときはアプリの標準フォントを変更してしまいましょう!
Text単体のフォントの変更方法は以前ご紹介してます!
フォントの基本設定はこちらを参照ください。
→ AssetsでTextウィジェットのフォントを変更する
フォントを用意する
以前の記事でも紹介しているのでまとめだけです!
詳細は上記の記事からどうぞ
・GoogleFontsなどからフォントファイルをダウンロード
・assetsフォルダを作成してフォントファイルを配置
・pubspeck.yamlに記述

# The following section is specific to Flutter packages.
flutter:
  # The following line ensures that the Material Icons font is
  # included with your application, so that you can use the icons in
  # the material Icons class.
  uses-material-design: true

  assets:
    - assets/

  fonts:
    - family: noto
      fonts:
        - asset: assets/NotoSansJP-Thin.ttf
          weight: 100
        - asset: assets/NotoSansJP-ExtraLight.ttf
          weight: 200
        - asset: assets/NotoSansJP-Light.ttf
          weight: 300
        - asset: assets/NotoSansJP-Regular.ttf
          weight: 400
        - asset: assets/NotoSansJP-Medium.ttf
          weight: 500
        - asset: assets/NotoSansJP-SemiBold.ttf
          weight: 600
        - asset: assets/NotoSansJP-Bold.ttf
          weight: 700
        - asset: assets/NotoSansJP-ExtraBold.ttf
          weight: 800
        - asset: assets/NotoSansJP-Black.ttf
          weight: 900
MaterialAppにfontFamilyを指定する
フォントをアプリ全体に適用するには、MaterialAppのthemaを編集してfontFamilyを指定します!
ここで、”noto”はpubspec.yamlに記述した -family: noto と一致した名前にしてください。
設定はこれだけで、後は表示したいアプリやウィジェットをhomeに与えるだけです。
import "package:flutter/material.dart";

void main() {
  runApp(const MyApp());
}

class MyApp extends StatelessWidget {
  const MyApp({Key? super.key});

  @override
  Widget build(BuildContext context) {
    return MaterialApp(
      theme: ThemeData(
        // カスタムフォントをデフォルトに設定
        fontFamily: "noto",
      ),
      home: <Your Widget here>,
    );
  }
}
全体コード
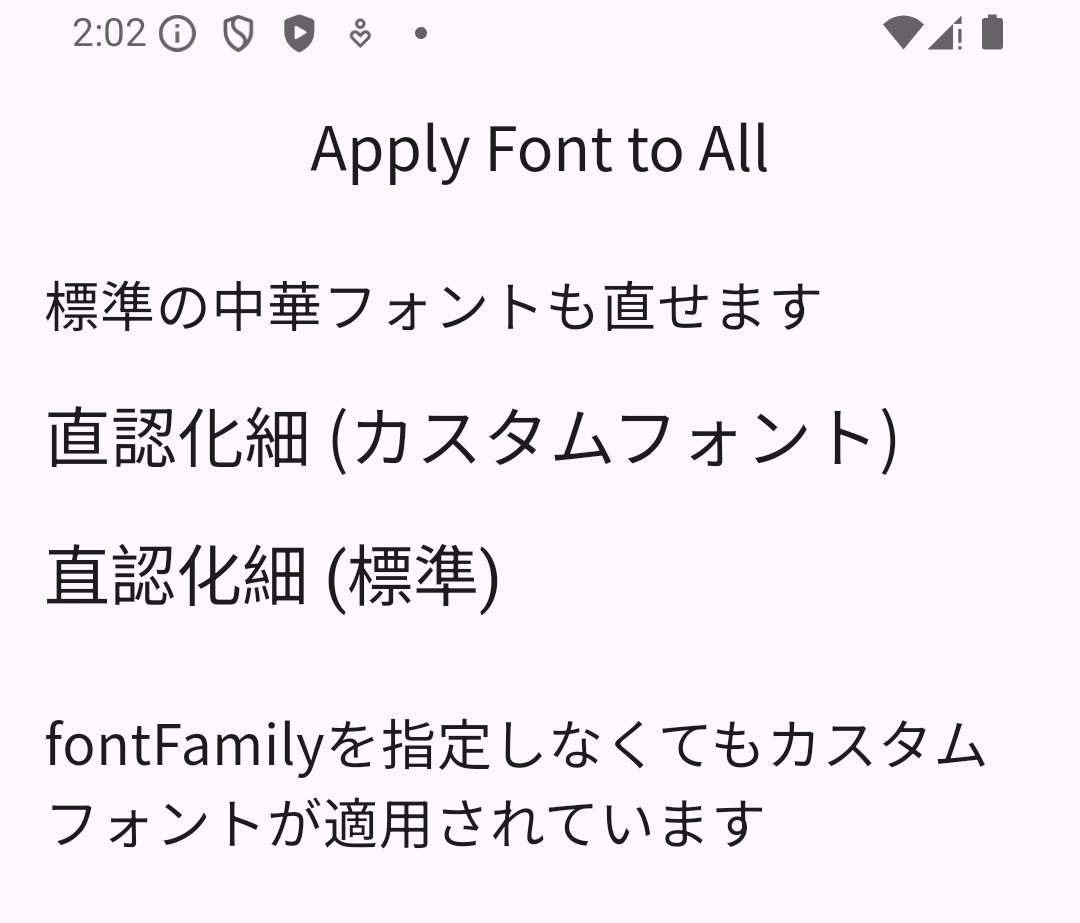
最後にカスタムフォントをアプリ全体に適用するデモを紹介します。
import "package:flutter/material.dart";

void main() {
  runApp(const MyApp());
}

class MyApp extends StatelessWidget {
  const MyApp({Key? super.key});

  @override
  Widget build(BuildContext context) {
    return MaterialApp(
      theme: ThemeData(
        // カスタムフォントをデフォルトに設定
        fontFamily: "noto",
      ),
      home: const FontExample(),
    );
  }
}

class FontExample extends StatelessWidget {
  const FontExample({Key? super.key});

  @override
  Widget build(BuildContext context) {
    return Scaffold(
      appBar: AppBar(
        title: const Align(alignment: Alignment.center, child: Text("Apply Font to All")),
      ),
      body: Padding(
        padding: const EdgeInsets.all(16),
        child: Column(
          crossAxisAlignment: CrossAxisAlignment.start,
          children: [
            const Text(
              "標準の中華フォントも直せます",
              style: TextStyle(fontSize: 20),
            ),
            const SizedBox(height: 15),
            const Text(
              "直認化細 (カスタムフォント)",
              style: TextStyle(fontSize: 24),
            ),
            const SizedBox(height: 16),
            DefaultTextStyle(
              style: ThemeData.fallback().textTheme.bodyMedium!,
              child: const Text(
                "直認化細 (標準)",
                style: TextStyle(fontSize: 24),
              ),
            ),
            const SizedBox(height: 30),
            const Text(
              "fontFamilyを指定しなくてもカスタムフォントが適用されています",
              style: TextStyle(fontSize: 20),
            ),
            const SizedBox(height: 16),
            const SizedBox(height: 40),
          ],
        ),
      ),
    );
  }
}
この記事が役に立ちましたらぜひ左下のGoodボタンをお願いします!
皆様のGoodが執筆の励みになります。


コメント